
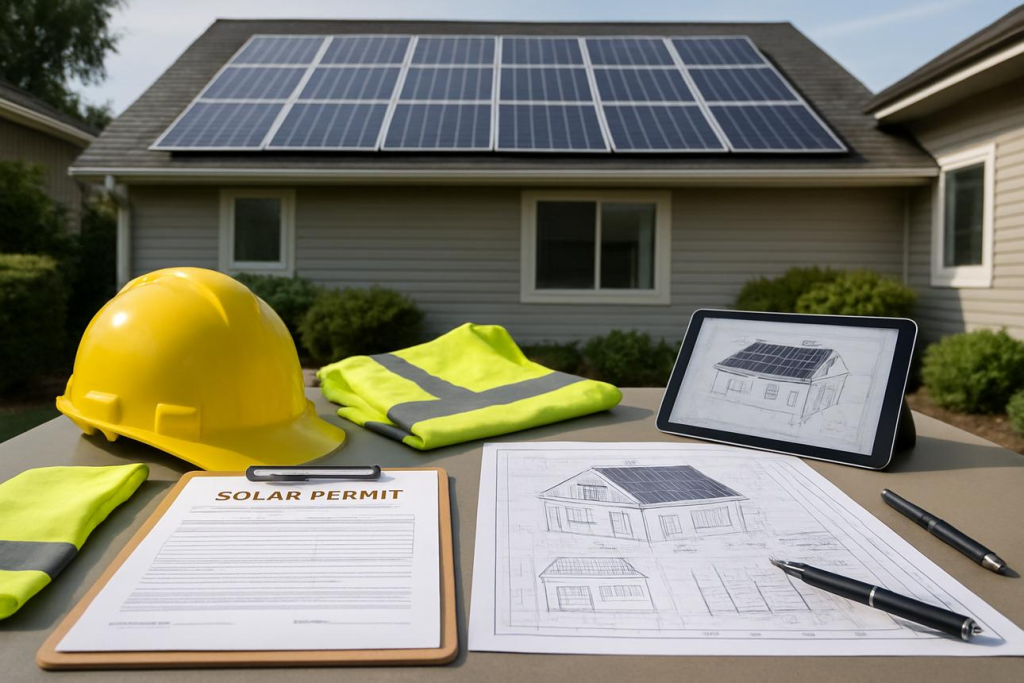
Solar Installation Process: What to Expect from Start to Finish
Installing a solar energy system is an exciting investment that can reduce your electricity bills, increase your home’s value, and support a cleaner future. While many homeowners focus on the day their solar panels are installed, several important steps take place before and after installation to ensure your system is safe, code-compliant, and ready to generate electricity.
Understanding the entire process—from permitting to Permission to Operate (PTO)—helps you know what to expect and why each step matters.
Step 1: Initial Consultation and Site Assessment
Every successful solar project begins with a professional evaluation of your home.
During the site assessment, your solar provider will review:
- Your annual electricity usage
- Roof size and condition
- Roof orientation and pitch
- Shade from trees or nearby structures
- Available electrical service capacity
- Space for inverters and optional battery storage
This information is used to design a solar system that fits your home’s energy needs and maximizes long-term savings.
Step 2: Customized System Design
Once the site evaluation is complete, engineers create a customized solar design.
The design typically includes:
- Solar panel layout
- Inverter location
- Electrical diagrams
- Structural calculations
- Equipment specifications
- Expected annual energy production
A properly designed system ensures safety, efficiency, and compliance with local building codes.
Step 3: Permitting
Before installation can begin, permits must be obtained from your local jurisdiction.
Permits may include:
- Building permit
- Electrical permit
- Structural approval (if required)
- Fire code review (where applicable)
The permitting process helps verify that your solar installation meets all local safety and construction requirements.
Permit approval timelines vary depending on your city or county and can range from a few days to several weeks.
Step 4: Utility Interconnection Application
Your solar contractor also submits an interconnection application to your electric utility.
This application allows the utility to review:
- System size
- Equipment specifications
- Safety requirements
- Connection to the electrical grid
Utilities review the application to ensure the proposed system can safely operate alongside the existing electrical infrastructure.
Step 5: Solar Installation
After permits are approved, installation is scheduled.
A typical residential installation usually takes one to three days, depending on system size and complexity.
Installation generally includes:
- Mounting hardware installation
- Solar panel installation
- Inverter installation
- Electrical wiring
- Disconnect switch installation
- Monitoring equipment setup
- Battery installation (if included)
Professional installers follow manufacturer specifications and local electrical codes throughout the installation.
Step 6: Inspection
After installation is complete, your local building department or Authority Having Jurisdiction (AHJ) performs an inspection.
The inspector verifies that:
- Equipment was installed correctly
- Electrical connections meet code
- Structural requirements are satisfied
- Safety standards have been followed
If everything passes inspection, the project moves to the next stage.
Step 7: Utility Meter Upgrade (If Required)
Some utilities replace your existing electric meter with a bi-directional meter.
This special meter measures:
- Electricity consumed from the grid
- Excess solar energy exported back to the grid
This is an important step for customers participating in net metering or other utility export programs.
Step 8: Permission to Operate (PTO)
Once inspections are complete and the utility has approved the interconnection, the utility issues Permission to Operate (PTO).
PTO is the official authorization allowing your solar system to begin exporting electricity to the utility grid.
Do not operate a newly installed grid-connected solar system until PTO has been granted, unless your installer and utility specifically instruct otherwise.
After receiving PTO, your installer will typically activate the system and verify that it is operating correctly.
Step 9: System Monitoring and Ongoing Support
Once your system is producing energy, you’ll be able to monitor performance using a mobile app or online portal.
Monitoring allows you to view:
- Daily energy production
- Monthly production
- Lifetime production
- System performance
- Alerts or maintenance notifications
Regular monitoring helps ensure your solar investment continues performing efficiently for years to come.
How Long Does the Entire Process Take?
Although installation itself often takes only a few days, the complete process—from signing the contract to receiving PTO—typically takes several weeks to a few months.
The timeline depends on factors such as:
- Permit approval times
- Utility processing
- Equipment availability
- Inspection scheduling
- Weather conditions
- Utility PTO approval
Your installer should keep you informed throughout each stage.
Frequently Asked Questions
What is PTO?
Permission to Operate (PTO) is the utility company’s official approval allowing your solar system to operate and send electricity to the power grid.
Why does permitting take time?
Permits help ensure your solar installation complies with local building, electrical, and fire safety codes. Processing times vary by jurisdiction.
Can I turn my system on after installation?
Generally, no. For most grid-connected systems, you should wait until the utility issues PTO before operating the system.
What happens after PTO?
After PTO is granted, your installer activates the system, verifies performance, and helps you begin monitoring your solar production.
Final Thoughts
Installing solar is a carefully coordinated process involving engineers, permitting agencies, inspectors, your electric utility, and experienced installation professionals. While waiting for permits and PTO may require patience, these steps help ensure your system is installed safely, complies with regulations, and delivers reliable clean energy for decades.
By understanding each stage—from consultation to Permission to Operate—you’ll be better prepared for a smooth and successful solar experience.